Tanaza features various authentication flows such as Facebook login, social login, voucher-based authentication, and now form-based authentication. In this article, we will speak about two practical cases: the Facebook login and the form-based authentication and whether it’s better to choose the first one, or the second one.
If you provide Wi-Fi to your client, you have to think about the authentication flow that lets them access your network. The authentication flow has an impact on the type of client data you will collect.
Tanaza features a captive portal that allows you to create a splash page and allows you to choose the best Wi-Fi authentication flow. Below, we will discuss in more detail two authentication flows the Facebook login and the form-based authentication.
How to setup the authentication flow?
Tanaza features a built-in captive portal, that allows network administrators to show the users a splash page for authentication.
The splash page can be easily configured using the Tanaza Splash Page Editor, an easy to use tool to customize and create authentication pages.
The two spalsh pages below are an example of what you can do with the Tanaza Splash Page Editor.
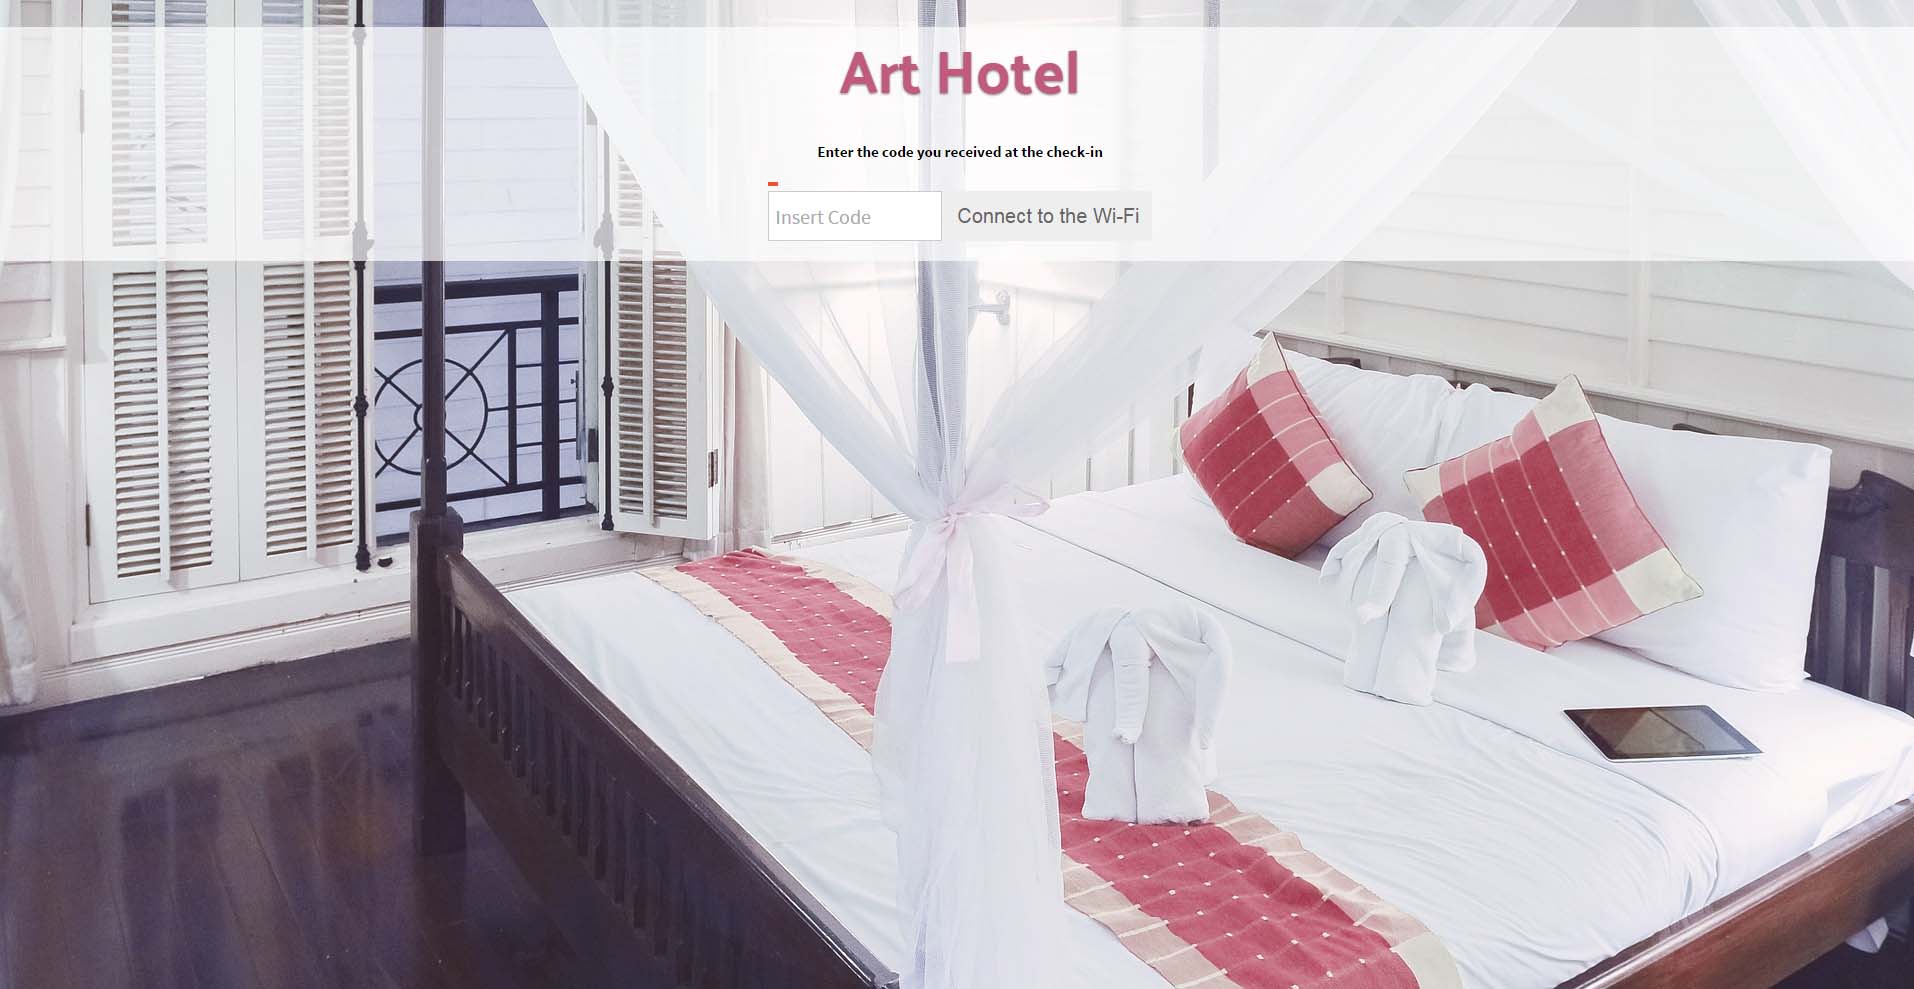
Splash page 1: authentication with a voucher code for a hotel
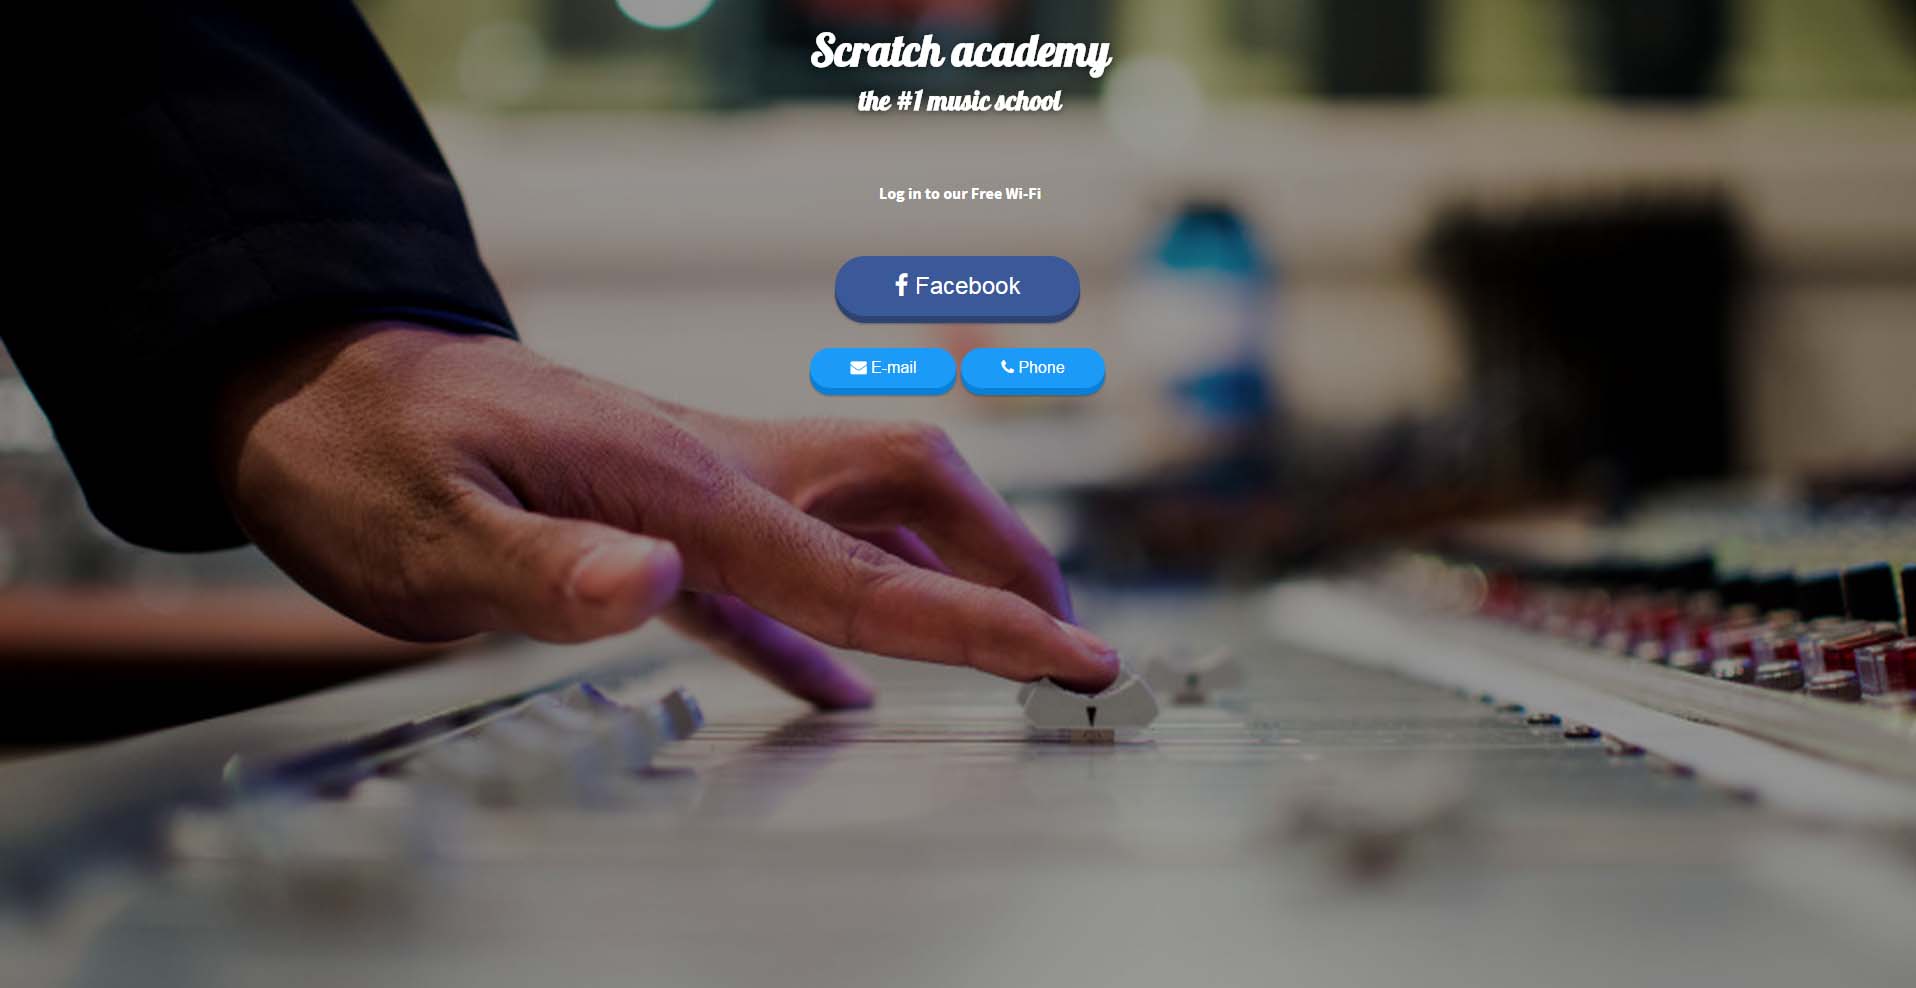
Splash page 2: authentication with Facebook, email or phone number
Facebook login: by enabling the Facebook login option in your splash page editor, a Facebook login button will appear on the Tanaza built-in splash page.
As Facebook directly communicates with the Tanaza “Access Internet” application, the login process will automatically be configured and operative on your splash page.
PRO → Setting up the Facebook login is super easy and fast.
Form-based authentication: the form-based authentication featured by Tanaza will allow you to build customized authentication forms for your splash page.
To build this form, you have to go on your Tanaza Cloud account and proceed to editing your splash page: create a login button and select on the list (method) “custom form” (see screenshot 1). You will find below on the settings, a list of basic fields that you can add to your form, such as name, last name, email address, phone number, birth date and location. Lower on the list, you will find the “custom fields” that will enable you to customize your form (see screenshot 2).
CON / PRO→ Setting up the form based authentication takes longer than the Facebook login. However, you can customize it as much as you want and ask clients’ information you need.

Screenshot 1: customized form-based authentication for a restaurant, login option -> select “custom form”

Screenshot 2: c select “custom form” , “add field” and select in the list
What type of data is collected?
Facebook login: the type of data collected depends on the user’s privacy settings and available information. For example, you can collect the first name, last name, email address, location (city and geographic coordinates), gender, birthdate, Facebook profile picture and device’s MAC address..
→ The data collected depends on the user’s privacy setting
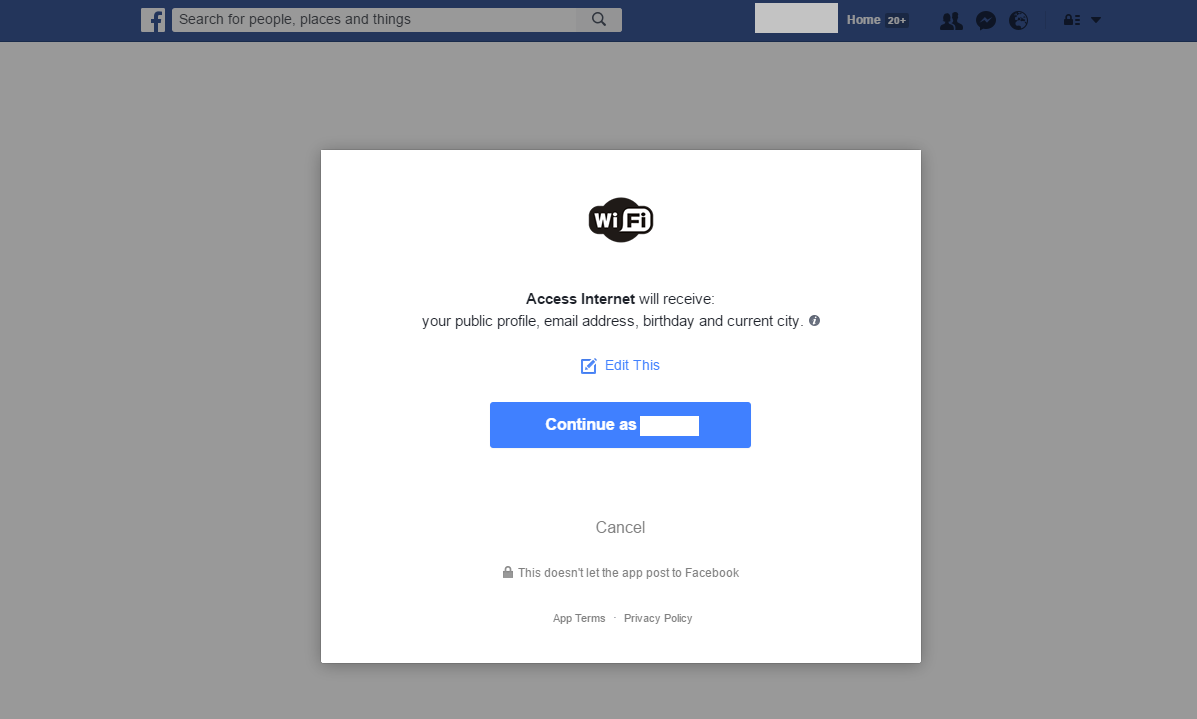 Screenshot 3: the application “Access Internet” is asking permission to the user to access their data.
Form-based authentication: the form-based authentication is fully customizable.
You can ask for basic user information but you can also create custom fields to know more about your clientele.
The form-based authentication perfectly fits the need of shops, malls, restaurants, entertainment or sports venues, etc., and allows you, for example, to segment your customers according to their preferences. The form-based authentication allows you to keep full control of the data collected. On the two examples of form-based authentication below (splash page 3 and 4), you can see that personal information like the status of the user or his interests are asking. This will allow you to create segments and to send targeted newsletters to the clientele.
→ The data collected depends on your required fields.
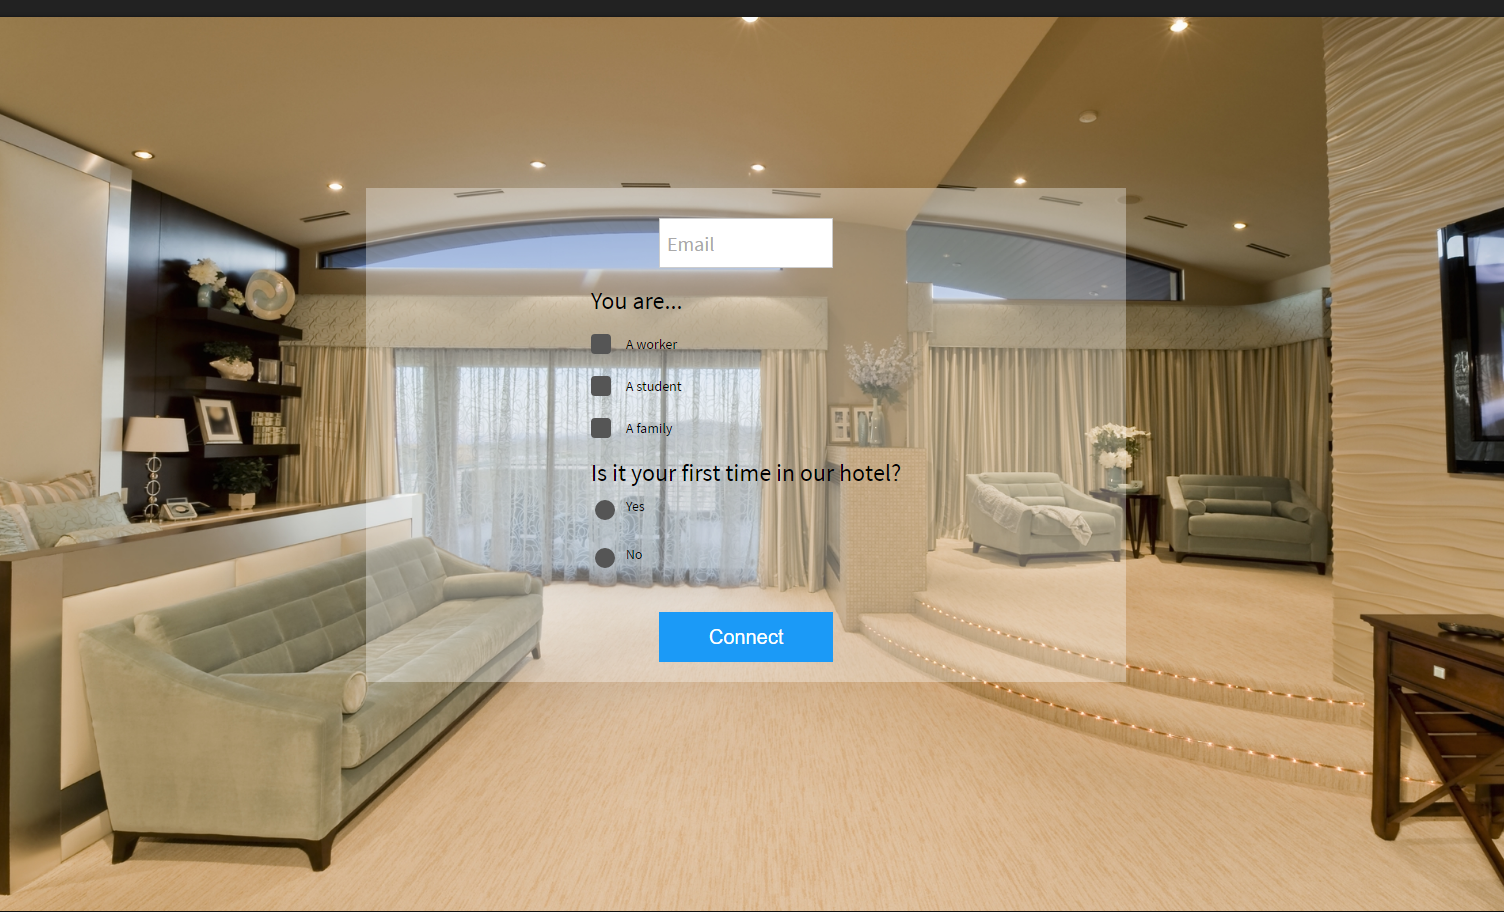
Splash page 3: form-based authentication for a hotel with custom fields
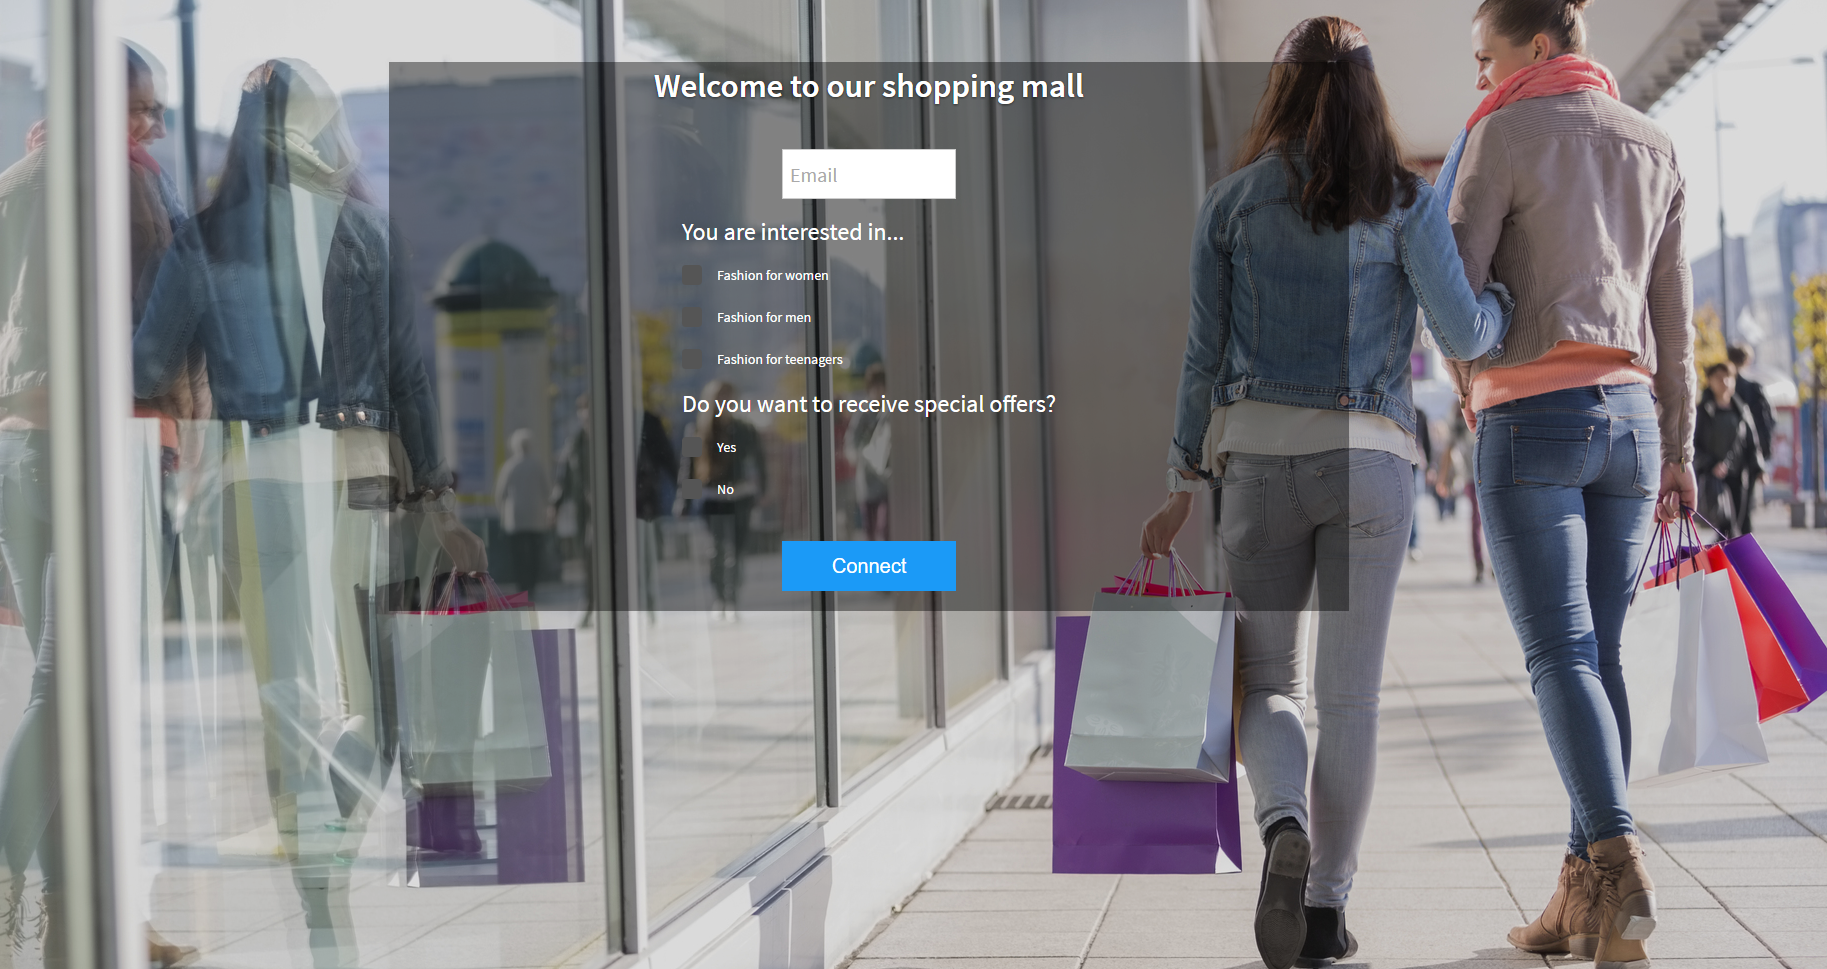
Splash page 4: form-based authentication for a mall with custom fields
What is the process for the user to login?
Facebook login: when the user arrives on the splash page, he has to click on the Facebook login button. He will be automatically redirected to the Access internet application that will ask him permission to access his data. The user has the possibility to modify the information provided. He can also decide not to provide any data.
You can ask social actions to the Wi-Fi user such as put a like on your page or check-in into your location in exchange for Wi-Fi access (see screenshot 4 and splash page 6).
→ Accessing Wi-Fi through Facebook login is easy and fast for the user but still, the user decides whether to share or not is personal information with you.
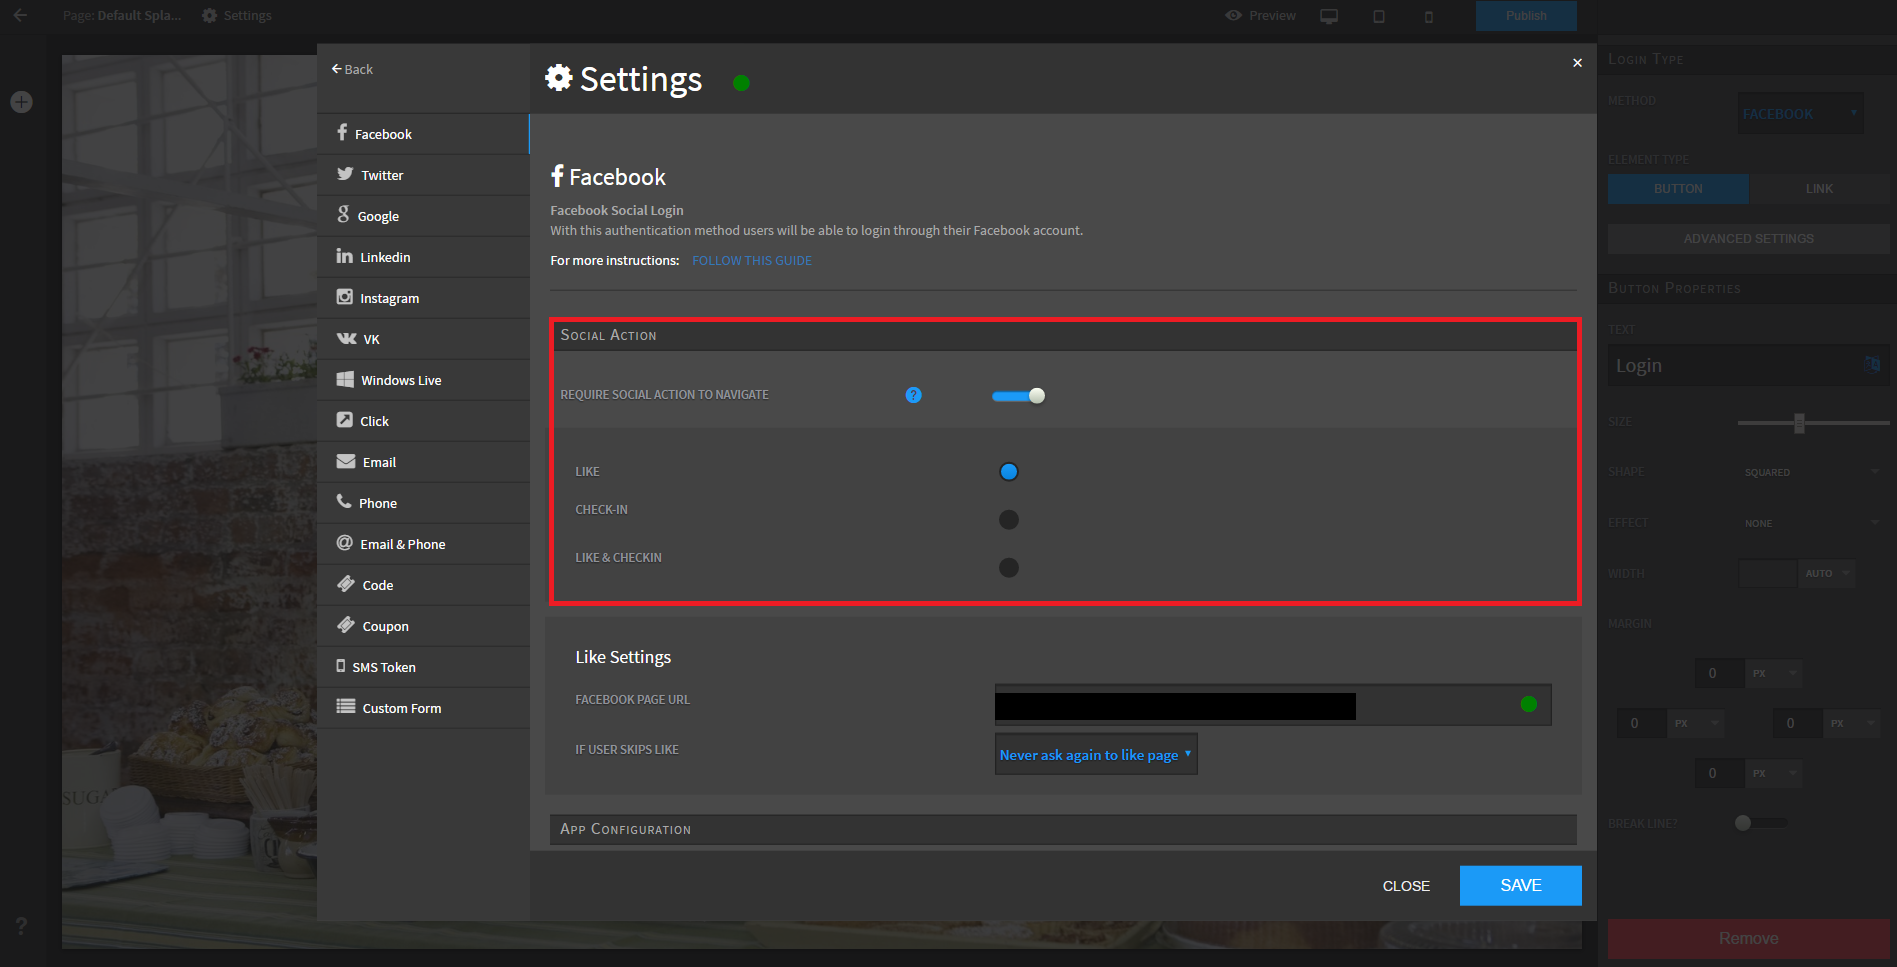
Screenshot 4: select the social activities for your Facebook login in the settings
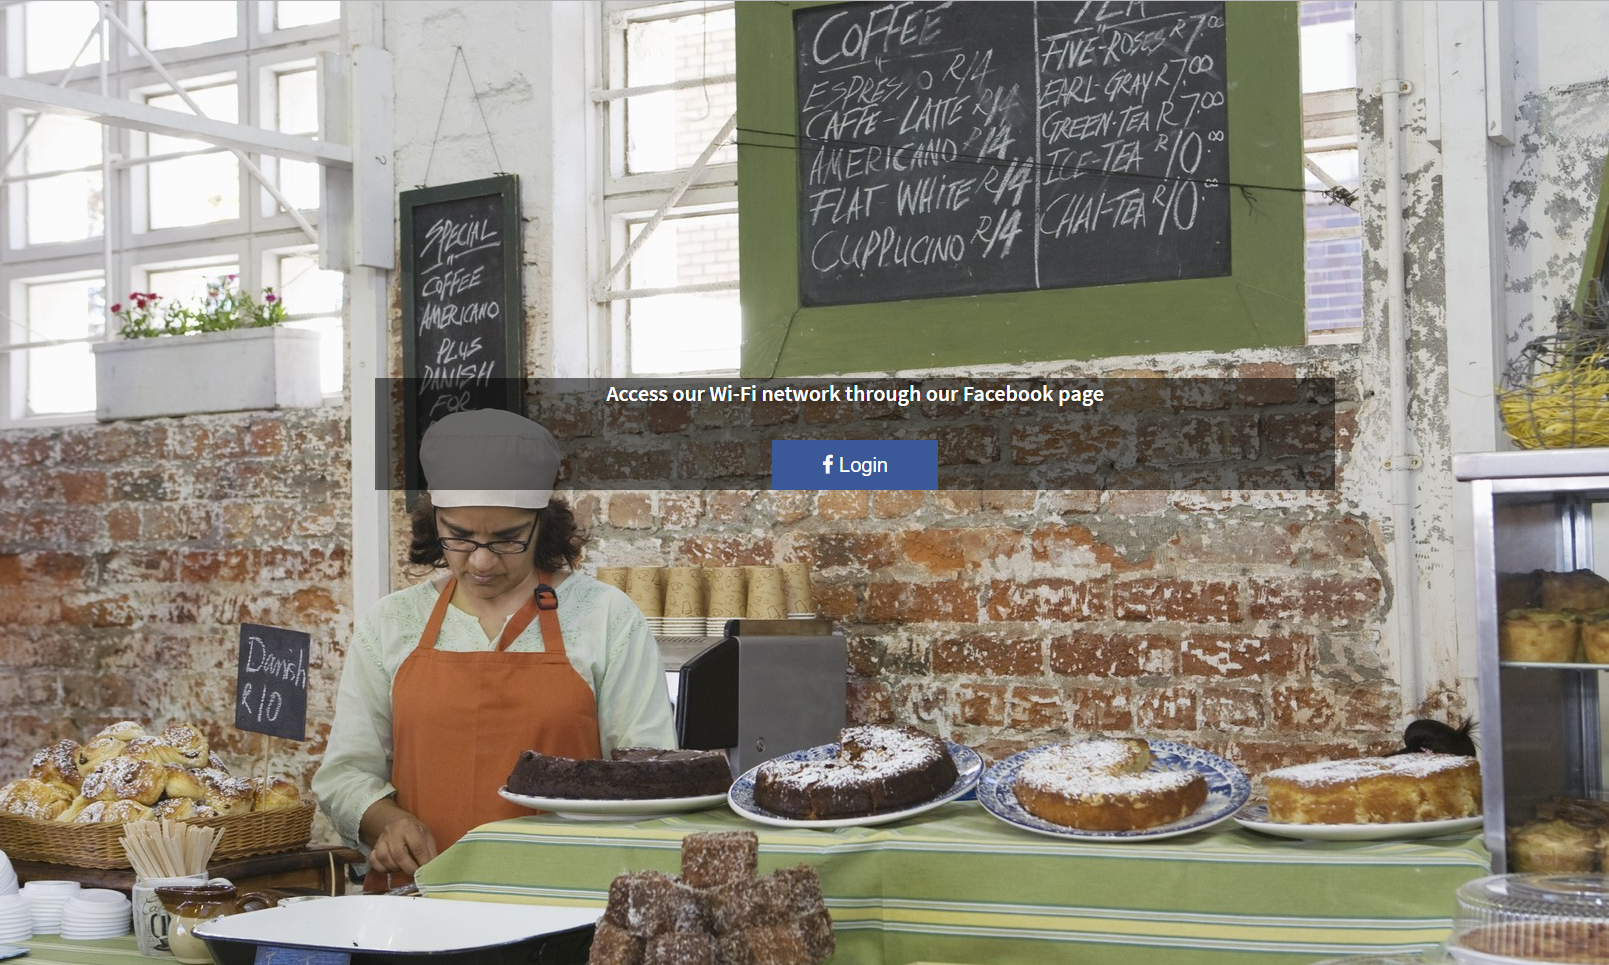
Splash page 5: Facebook login authentication for a café
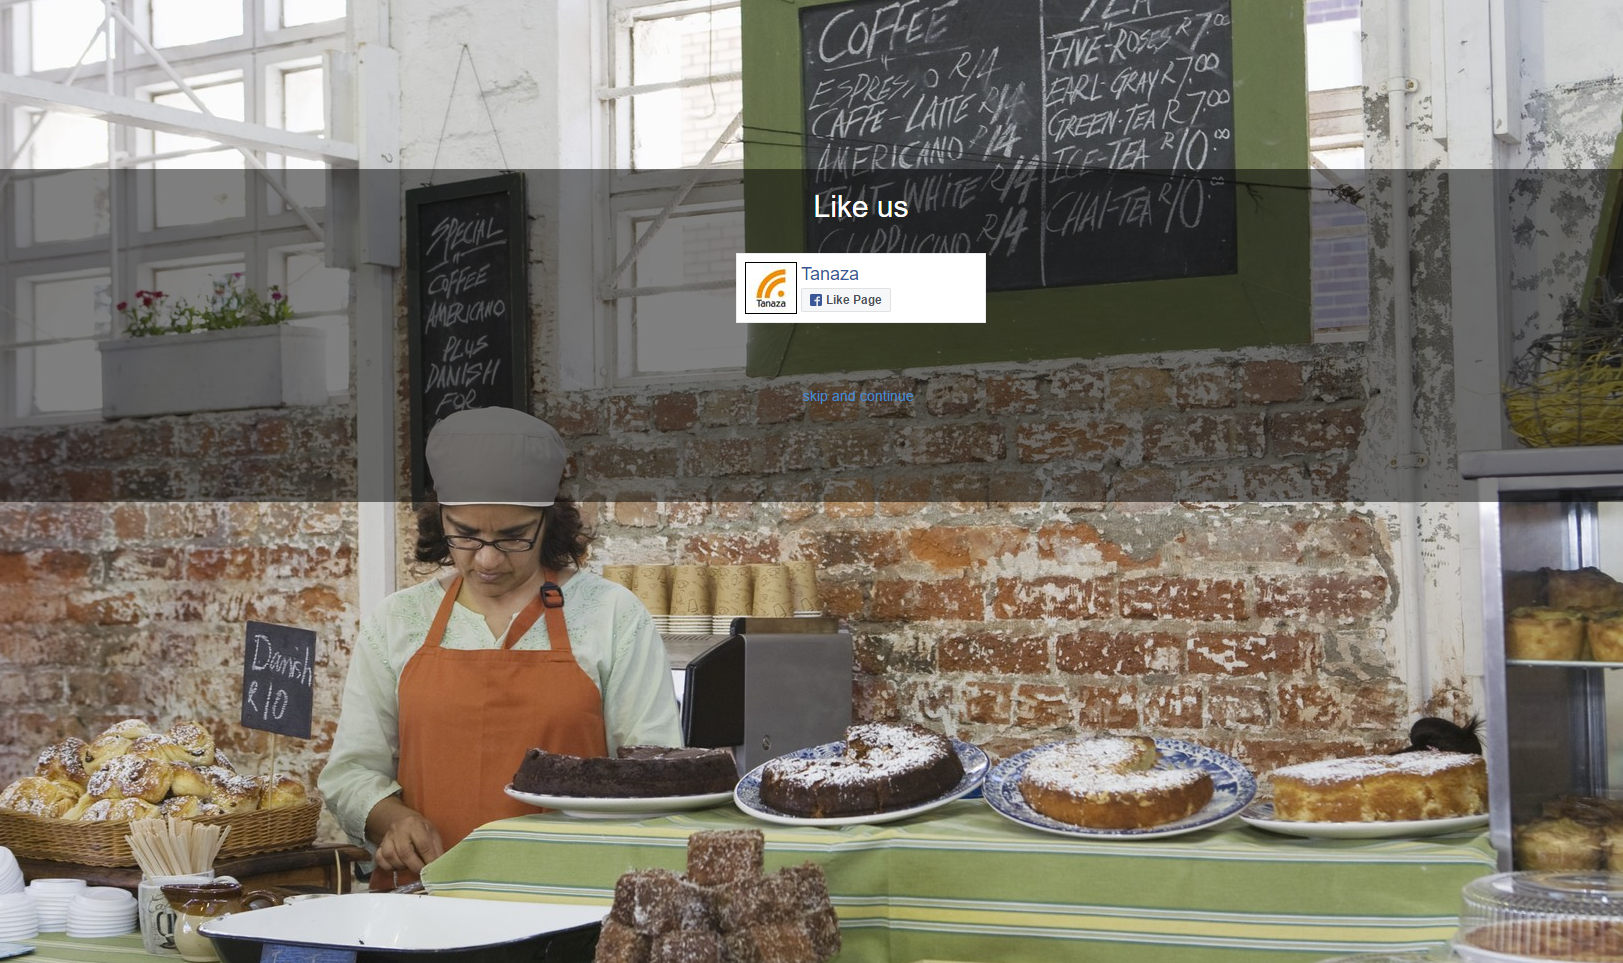
Splash page 6: after a click on the button, the user is asking to put a Like on your Facebook page. He can also click on “skip and continue”
Form-based authentication: the user arrives on the splash page and has to fulfill all the required fields in order to access Wi-Fi. Our suggestion for you is to ask only for relevant information in relation to your business. In fact, when you ask to fill too many fields people tend to interrupt the login process and not connect at all.
For example, in a shopping mall, you could create a custom field like “favorite brand” and send a special newsletter about this brand to your clients (see splash page 7).
→ The process is easy for your client but your requirements have to fit with your location.
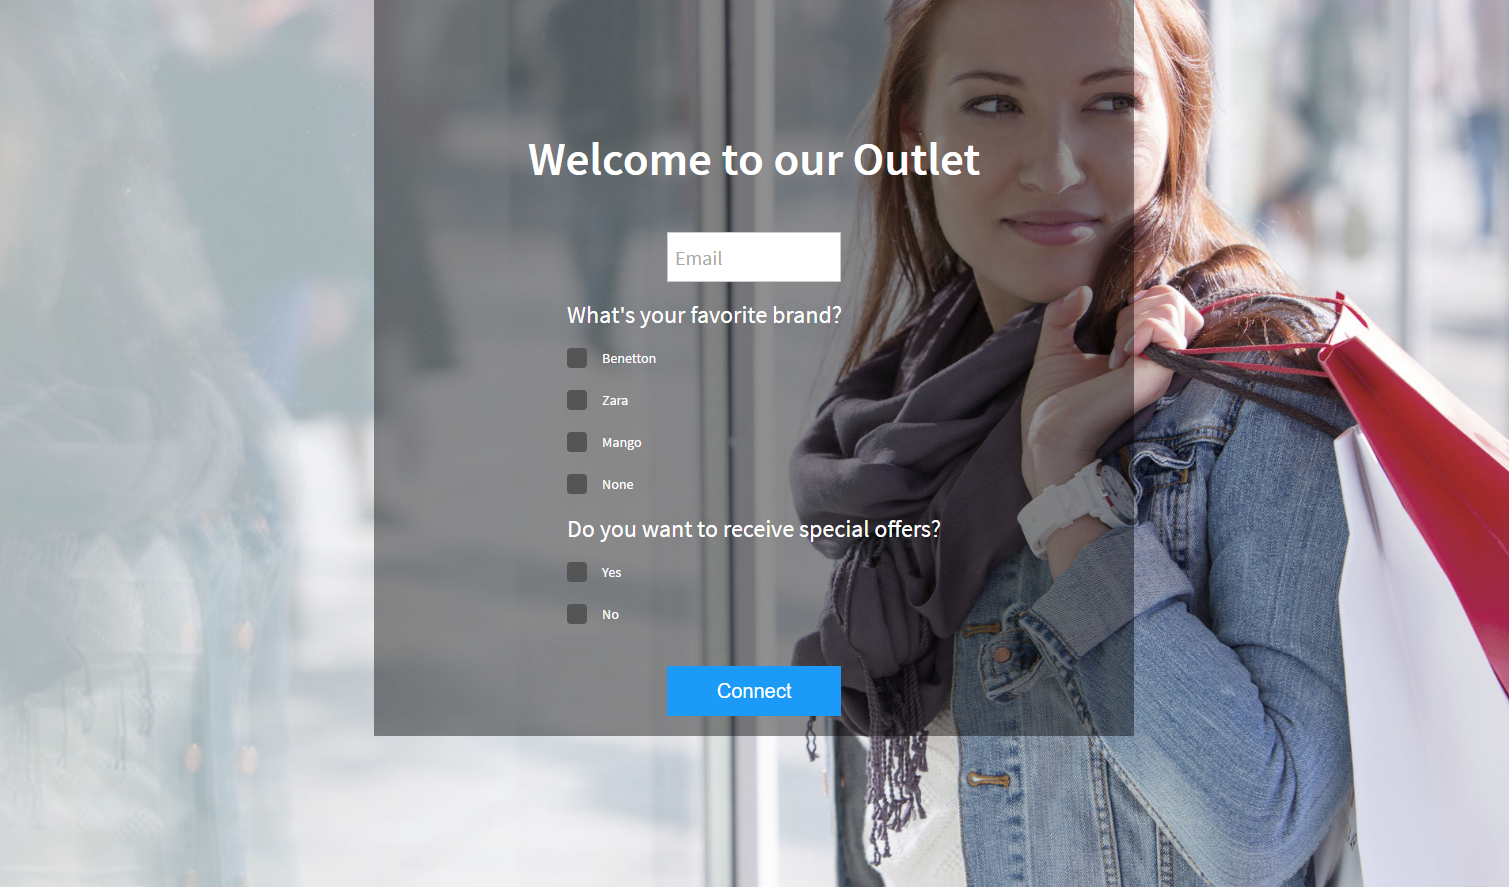
Splash page 7: form-based authentication for a mall with custom fields
Do you want to try the Tanaza splash editor? Start your 15 days free trial and discover all Tanaza features!

